October 25, 2011

Refinishing the Coffee Table: Part I

I've already introduced you to our new coffee table here, but I wanted to give some sort of update (as small as it may be).


To recap: we already owned a perfectly good coffee table, but when we saw this guy at the Goodwill for $22.00, there was just no passing it up. For a few weeks it lived in our garage, until the weekend we decided to tackle the refinishing. I've never refinished anything before, but I figured it couldn't be that hard.

The very first step is to remove all the hardware, screws, chains...pretty much anything that's not wood. Introducing my power-tool-wielding husband...


I worked with the manual screwdriver on one side, while he worked on the other. Everything was going pretty well until we hit a problem - some screws were so old and tight that the power screwdriver just drove right through them. That left us with a completely worn drill-bit (which we still haven't replaced) and a whole lot of this:


After a while, we finally got everything removed. Initially we were hoping to reuse the screws and brackets, but they were just too old. We're definitely going to reuse the little chains that hold the doors open.


Next step? Breaking out the stripper! (No, not that kind of stripper...) We used a '15 minute' stain remover which we brushed on with natural bristled paint brushes (don't use synthetic, they'll disintegrate). I don't know if you've ever read the back of a can of paint stripper, but holy crap that stuff is frightening. They pretty much scare the bejesus out of you, which lead to us purchasing gloves, goggles and suiting up in long pants and shirts (it was hot out!).


So, let's take a time-out to talk about what I was expecting when it came to stripping wood. I really thought we were going to brush on the goo, wait fifteen minutes and voila...


That did NOT happen that way. At all. I started to panic a little and then called every person I know who had ever stripped furniture. That's when my mom told me the bad news: it can take several applications before any stain comes off. Darn. Also, I am pretty sure we weren't laying it on thick enough for the stripper to work well. Sooooo, back to the drawing board.

After about four coats, we got it to this point:


It's hard to tell, but that really was an amazing improvement from this:


You can see that the sheen is gone and the natural wood tone is starting to appear. We had something to do that night, so we were never able to finish it and haven't been able to work on it since. Hopefully this we can make more progress soon and actually finish it!


October 24, 2011

The Fall Mantel...

First off, let me tell you how excited I am about my foray into fall decor. I know what you're saying...'get over yourself Victoria', but I never thought that I could do this stuff. Honestly, after I whipped these up, I paced around the house waiting for Brian to come home so someone could actually see my creation!

It all started as we were driving home from some errands and passed a little side-of-the-road pumpkin patch. I thought I could just grab some alternating size pumpkins, a few squashes, throw on the mantel and call it day. But nooooo, our evil mantel has to be difficult. Believe me, I tried it, but because the mantel is so tall and so long, the pumpkins were instantly lost on the mantel and not large enough to make any impact. How long is that mantel, you ask? This long:


You can't even SEE what's at the other side!

After realizing that we needed some height in the display, using burlap jumped into my brain. I thought it would be great to wrap whatever random household item I used in the fabric. Off to Hobby Lobby. Funny thing is, the fabric lady actually commented that everyone was buying burlap that week, which just goes to show how unoriginal that plan was...or that 'great minds think alike'? - I'll take the latter! While I was in Hobby Lobby, I came across some natural wheat and small branches - I picked those up on a whim.

Once I got home I grabbed an overturned vase, a candle, my birch vase and some pine cones I had from last year. Here is the result:


I must have depleted all of my creative juices because when it came time for the other side of the mantel, I was dumbfounded. I didn't have a second birch vase and I didn't have a second vase either. With a little improvisation, I came up with this:


It's a different set-up, but the same height - which I think is important for tying them together. I love the way the wheat and the branches fell perfectly in that vase (total accident) and also pretty excited that I got to use the candle holder from this post.

It was near impossible to get a picture of the whole mantel in one frame, so I took some separate shots from each angle:


If you haven't noticed, the middle of the mantel is pretty lonely. I was hoping to pick up some small candles in fall-ish colors:


Or maybe something like this...


Or I could attempt these awesome candle holders:


October 20, 2011

Vacation Recap: Cape Cod Thrifting

Like I said yesterday, the weather on our vacation was awesome, but we did get two rainy days towards the end of the week. What does one do on a rainy Cape Cod Thursday? Check out the antique stores, of course! We honestly went to so many thrift and antique stores that I couldn't keep them straight. Here are some of the awesome things that we found (but didn't buy):

I was obsessed with this temperature meter/gauge thing. It was waaay too much money, but I could just envision it in our house.


The same antique mall had this crazy room that reminded me of an episode of Hoarders. It was full of model ships - the picture doesn't even do it justice!


Brian fell in love with this 1932 radio.


This was quite the find since I plan on doing the same project with the old windows from our house! (I have an entire post on that project planned)


Speaking of mirrors, I found these two beauties in the Goodwill in Dennisport for $20 a piece! That's when I really wished we weren't flying home.


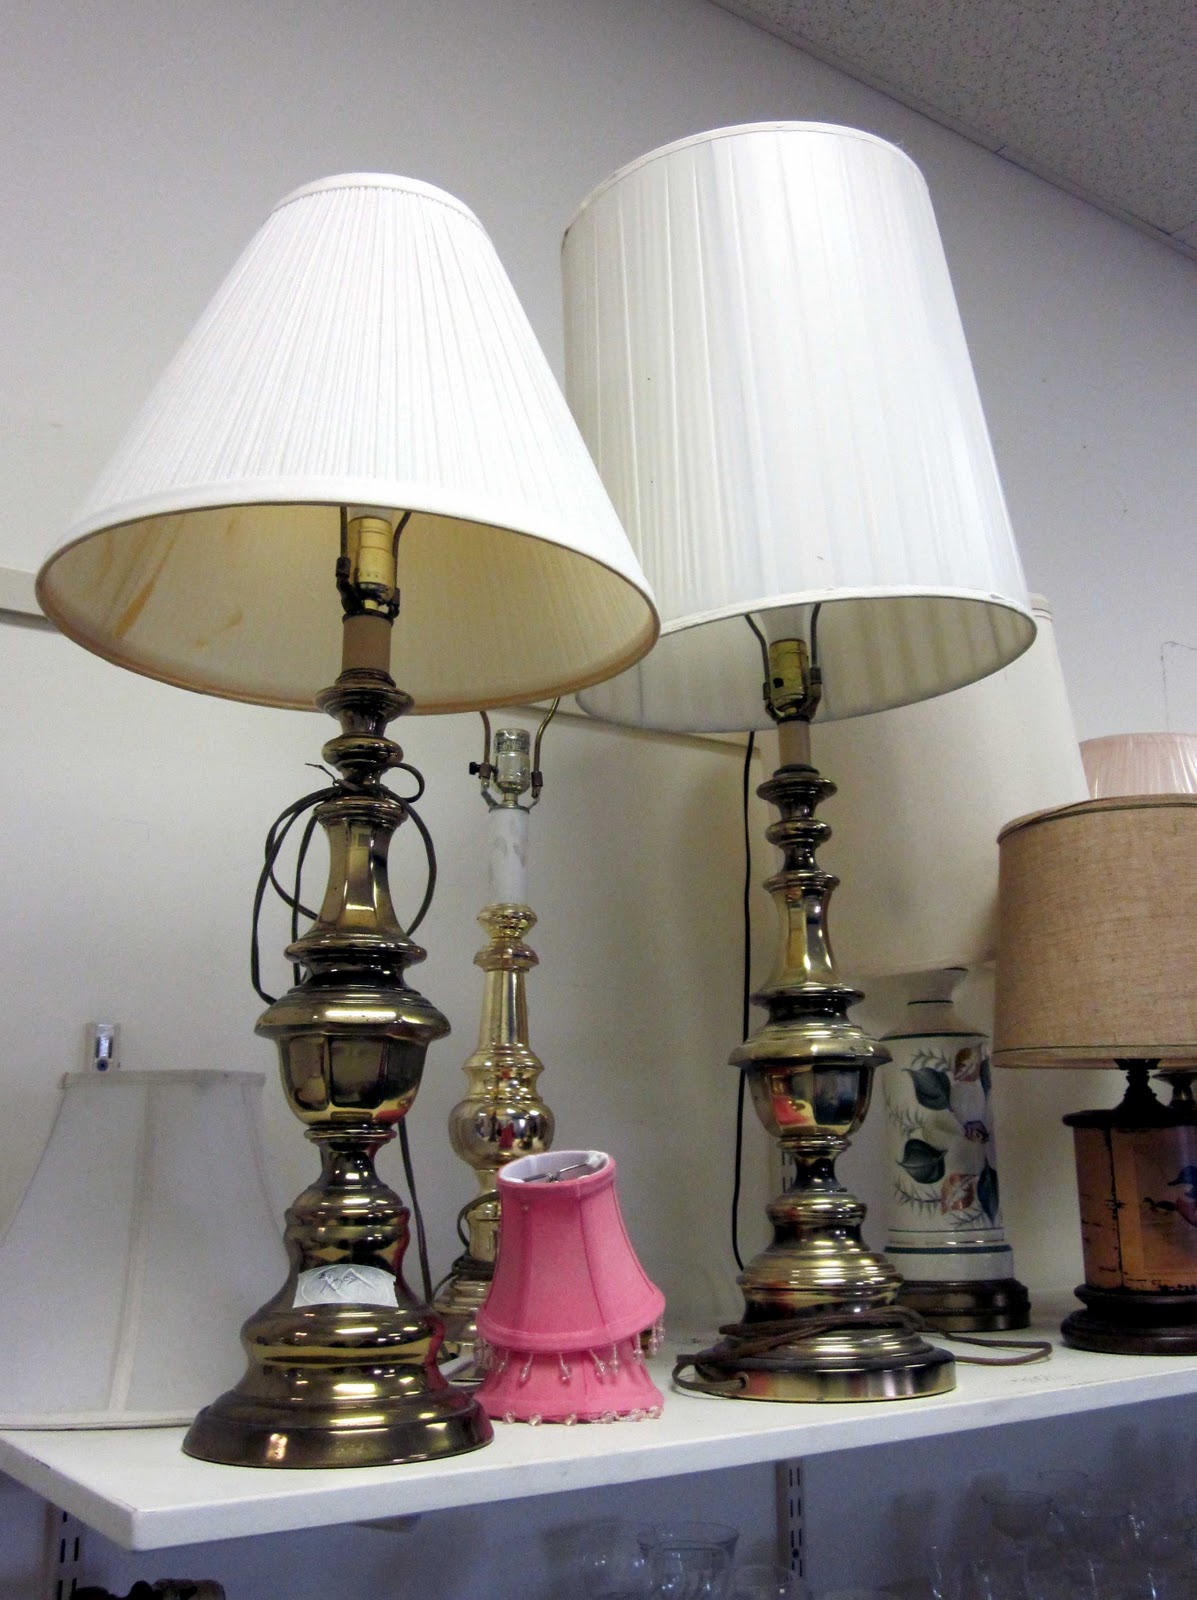
The same Goodwill had so many spray-paint-able (I think I just made that up) lamps, it was ridiculous.


The next picture is from a restaurant in Salem (Victoria Station) that had the most rustic decor and I wanted to steal every idea. Honestly, if I wouldn't have looked like a complete weirdo, I would have taken a lot more pictures. Check out these massive barn doors:


To my surprise, the place with the most Cape/nautical decorating ideas was none other than Cuffy's. I went into the Chatham store to buy a sweatshirt and noticed two great displays.


I am dying for some oars for my guest room!


These next two tables aren't from any antique or thrift store, they're from the Cape House! Brian's grandmother has some seriously awesome antique furniture and these two pieces really caught my eye:


It was hard to leave some of the good finds, but next time we're in New England with a car - watch out!


October 19, 2011

Vacation Recap: Cape Cod!

Cape Cod was truly wonderful. It was great to have more than a week to just relax, unwind, celebrate our anniversary and go visit the places that we love. The weather was spectacular on Saturday, Sunday and Monday and we didn't even get any rain until Thursday. I wanted to share some of the most scenic photos from the trip:

The Sagamore Bridge


West Dennis beach in October!


Old North Church


The Charles River


Bass River


West Dennis beach on the night of our anniversary.


This was my dream house. It was in Plymouth and literally sat ON a cliff overlooking the ocean. It was New England all the way.


Of course the best part of the week was heading down to the Chatham Fish Pier to watch the fishing boats come in and the harbor seals come out.


One of the best parts of Boston? Finding this used record shop near Berklee College of Music. We spent a good hour in there and good amount of money too, but we decided it would be our anniversary present.


October 18, 2011

Inspiration: Bedroom

Long before the blog idea ever came along, I began hoarding pictures of anything and everything that inspired me in the home. In truth, I was so nervous to make any decorating or paint decision, that I needed to have some visual idea of how to achieve what I was looking for. This mini-obsession led to a lot of jpegs living on my computer. I thought it would be a neat idea to do a little series of posts dedicated to my inspiration for each room of the house. Today, it's the master bedroom.

Let's start with what the room looked liked when we first moved in:


Don't you just love the 'two room' layout? When we first walked into the master bedroom while touring the house, we turned the corner and both gasped. It was like having two rooms in one! Eventually we'd love to make that extra space a nice seating area.

Anyway, aside from new ceilings and a new floor, the room looks exactly the same. Of course we have a bed in there, two dressers and one little love seat. That's about it. Oh, and all those aforementioned items are in desperate need of a makeover and/or a trip to the dump. We don't even have a 'real' bed, just the metal frame thingy (insert sad face).

I suppose we should start with the color choice? I am campaigning for a light sage - maybe Benjamin Moore's Saybrook Sage. Here is shot I found online of Saybrook in action:


It reminds me so much of the bedroom in my first apartment and that makes me happy.

We have very ambitious plans for our bed. First, can we talk about how much a bedroom set costs? Geez, I could buy a used car for what some people charge. Here is a picture of what we were thinking:


This happens to be the exact bedding that we already have, as well as exactly how I was planning to set up the room (foot-of-the-bed bench, frames above the headboard, lamps, etc.). I'm pretty sure the bed is the 'Farmhouse' style from Pottery Barn. As you already know, I love Pottery Barn style, but I do not love their prices. Thankfully people like Ana White exist. We plan on building (yes, building) our own Farmhouse bed using this guy's plan. Who knows when we'll start, but I can't wait to see it all done! Oh, and the website also has plans for nightstands:


Eventually we'll have to buy a dresser or two and I was hoping for a style like this one:


When it comes to some bedside lighting, I thought something like this would work really well:


Not completely sold yet, but we'll see.

Above the bed? I saw this in a Pottery Barn store that I was unique - hanging the frames from ropes on little knobs:


I fell totally in love with these 'state love' prints from Etsy:


I think it would be awesome to create a little series of the states that mean something to us (I couldn't find Massachusetts, but it will definitely be on there).

That's all I got! The next big projects for our bedroom will be finishing the trim work, painting the trim and getting new windows. After all that we can move on to paint!